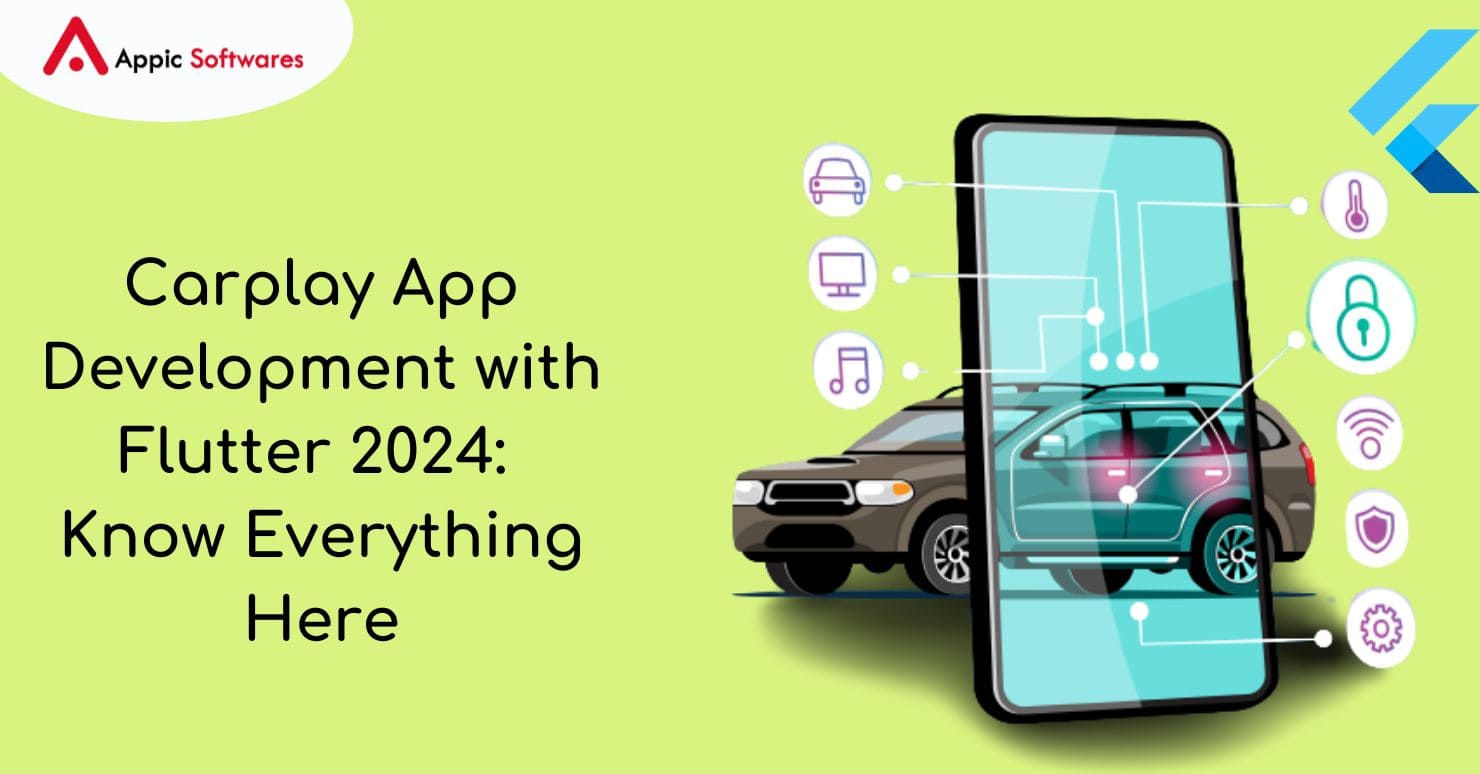
Carplay App Development with Flutter 2024: Know Everything Here

The Flutter platform can do more than just make apps for people who stay in one place. People can now use a lot of different apps while driving while on a business call thanks to Flutter’s Carplay app feature.
How do I use Flutter to make a CarPlay app? This walkthrough guide put together by experts will help you with the best!
Table of Content
What’s new with Flutter?
Making apps with Flutter has come a long way thanks to its great community of developers and regular changes to its latest versions. Over half of the world’s 3.6 million mobile users use Flutter, and the other half use React Native, which is another popular app development platform.
As part of the Flutter SDK, there are command-line tools, APIs for testing and merging, engine rendering, and 14 groups of ready-to-use widgets.
Google was the first company to use Flutter in its own apps, like Google Ads, Google Pay, and more. After that, many well-known companies, including BMW and Toyota, Rive, eBay, and others, used the framework, which made it more well-known.
Continue reading if you want to learn more about how the Flutter platform can be used.
How well do Flutter apps do? Since June 2023, Flutter has had a very high success rate. It has over 154k stars on GitHub and is Google’s second most popular open-source project.
Yes, the services for making Flutter apps are changing, and they’ve already gotten past a lot of problems. Take a look at what it can do to help you make an iOS Carplay game below.
Apple Must Do These Things Before Making a Carplay App
To make a Flutter app with a CarPlay component, you need to do more than just import Flutter packages, set some parameters, and send the final product to your customers. Before an app can use CarPlay, Apple has to give its clear approval.
It could take weeks or even months to finish this review process. Some people say that Apple just doesn’t listen when coders ask for this feature. You can’t speed up this process with anything you say or do; Apple sets the schedule.
But it’s still not as easy as checking a box to say that your app works with CarPlay. This brings us to our second problem: your software has to fit into a set of groups that Apple has already made.
Not All Apps Can Use CarPlay
To use CarPlay, your app must fit into one of the groups that Apple has already decided on. To put it simply, these groups are:
- Sound app
- The “Driving Task” app, which is new in iOS 16, lets users keep track of miles while they’re driving. It works with chat apps like Teams, Slack, or Discord.
- An app for charging electric vehicles
- The new iOS 16 Fueling app lets you pay for gas from CarPlay navigation software, like Apple Maps or Google Maps.
- Application for parking payment
- Like DoorDash or UberEats, this app lets you quickly order food.
- An app for music (like Spotify or YouTube Music)
That’s all you can change in your Carplay app groups.
You might think it’s unfair that Apple puts so many limits on what you can and can’t make for CarPlay. But think about what CarPlay is really about: people use it in their cars to do everyday things that shouldn’t stop them from driving.
Who Should Think About Making a Carplay App?
- As long as all of the above factors meet your needs.
- In Carplay, your app will work well with other apps.
- If you have an idea that will make things easier for people who drive cars, please share it.
It’s time to get professional help making your CarPlay app with Flutter.
Setting Up Your Carplay App’s Environment in Flutter
Carplay apps are best for drivers who want to use their phones while driving and do other things at the same time, like making calls, finding a place, listening to music, and more.
You should read these Apple-directed rules before you start your app creation services in Flutter and Carplay: The setup guide for the CarPlay app. This guide will briefly go over what Carplay apps need, what they can’t do, and what they can do.
Before you can set up the setting for your Flutter CarPlay app, you need to make sure that it works with CarPlay and that you can test it on a device or simulator that supports it. Apple created CarPlay, a system that lets some iOS apps be shown and handled on a car’s entertainment system.
Before you start, make sure that your work machine has both Flutter and Dart installed.
If you’re making apps for iOS, you need to install Xcode because CarPlay development needs it.
How to Use the Flutter Framework to Make a CarPlay App

Step 1: Create a Flutter Project
Now let’s go over the flutter_carplay setup steps that can be found on pub.dev.
Remember that this will change your Flutter project if you use it. If you were adding CarPlay to a current app, now is the best time to add your changes to source control. This way, you can quickly undo your changes if they cause problems.
First, we’ll add a link to our pubspec.yaml file in our dependencies:
|
dependencies:
flutter:
sdk: flutter
...other dependencies...
flutter_carplay: ^1.0.3
|
After that, the flutter pub get script should be run in our project. This will make a Podfile that helps us add flutter_carplay’s native components to our project.
When you open the ios/Podfile file, you should leave the first line blank and set the global platform to iOS 14:
# Remove the asterisk from this line to set up a global base for your project.
‘14.0’ and platform:ios
Change paths to get to the ios folder, then run pod install –repo-update.
Step 2: Making changes to our XCode project

These changes need to be made to our XCode app because CarPlay is built into iOS. To open the iOS module in Xcode, right-click on the ios folder and choose “Open iOS module.”
When you’re in our project, go to Runner > Runner > AppDelegate and change the body of the app code to just return true. You should see the same thing because we edited out the old code and put the new code right below it:

In our Runner folder, make a SceneDelegate.swift file (not the one at the top, but the one one level below), and then add the following to it:
|
@available(iOS 13.0, *)
class SceneDelegate: UIResponder, UIWindowSceneDelegate {
var window: UIWindow?
func scene(_ scene: UIScene, willConnectTo session: UISceneSession, options connectionOptions: UIScene.ConnectionOptions) {
guard let windowScene = scene as? UIWindowScene else { return }
window = UIWindow(windowScene: windowScene)
let flutterEngine = FlutterEngine(name: “SceneDelegateEngine”)
flutterEngine.run()
GeneratedPluginRegistrant.register(with: flutterEngine)
let controller = FlutterViewController.init(engine: flutterEngine, nibName: nil, bundle: nil)
window?.rootViewController = controller
window?.makeKeyAndVisible()
}
}
|
The SceneDelegate should look like this when you’re done with this step:

From the menu that comes up, right-click the Info.plist file and choose Open As > Source Code. Now that the Info.plist file is open in plain text, you can quickly add the following settings to it.
We need to be extra careful because it’s easy to mess up this file if we type the wrong thing at this point:

Add the next line of text before the /dict> at the end of the dictionary. The default choice is the one below, and we’ll go back to it later to change it:
|
1
2
3
4
5
6
7
8
9
10
11
12
13
14
15
16
17
18
19
20
21
22
23
24
25
26
27
28
29
30
31
32
33
34
35
36
37
38
39
40
41
42
43
44
45
46
47
48
49
50
51
52
53
54
55
|
<key>UIApplicationSceneManifest</key>
<dict>
<key>UIApplicationSupportsMultipleScenes</key>
<true />
<key>UISceneConfigurations</key>
<dict>
<key>CPTemplateApplicationSceneSessionRoleApplication</key>
<array>
<dict>
<key>UISceneConfigurationName</key>
<string>CarPlay Configuration</string>
<key>UISceneDelegateClassName</key>
<string>flutter_carplay.FlutterCarPlaySceneDelegate</string>
</dict>
</array>
<key>UIWindowSceneSessionRoleApplication</key>
<array>
<dict>
<key>UISceneConfigurationName</key>
<string>Default Configuration</string>
<key>UISceneDelegateClassName</key>
<string>$(PRODUCT_MODULE_NAME).SceneDelegate</string>
<key>UISceneStoryboardFile</key>
<string>Main</string>
</dict>
</array>
</dict>
</dict>
|
Step 3: Setting Up Your Rights
Our app needs to be able to talk to the CarPlay demo on our computer, even though it is still in the Flutter pre-development phase. Let us now set up these rights.
Next, in XCode, click on Runner. Next, click on Signing & Certificates. Finally, hit the plus sign next to All:

From the list that comes up, you can pick Keychain Sharing. Your app doesn’t really use keychain sharing, but if you add it, you’ll have a Runner.entitlements file in your project:
If you are making a certain type of app, delete the Keychain Access Groups and add a new permission to this file. You can look at Apple’s list of currently available entitlements to help you decide which one to use for your project.

When you’re done, your Runner.entitlements file should look like this:
Finally, we’re ready to make our Flutter app better by adding some features.

Step 4: Use the Flutter app’s CarPlay feature
The next user interface will be added to the CarPlay part of our app.
To do this, we need to take the following steps:
You need to set up a RootTemplate that will be the basis for our CarPlay experience.
You need to fill in the blanks on the form.
In our app, make callbacks.
Let’s take care of these things right away.
Step 5: Set the RootTemplate
We are going to make a new FlutterCarplay object in the file main.dart. The object in question will handle our connection to CarPlay and give us power over what happens when we use CarPlay:
final _flutterCarplay = FlutterCarplay();
Next, we need to change a few settings in the RootTemplate that can be tapped in our widget’s initState. It’s easy to make a grid template, name it, and then make a list of the buttons we want to press:
As expected, this is the result:
Now, let’s implement showOrderingConfirmationSheet:
|
1
2
3
4
5
6
7
8
9
10
11
12
13
14
15
16
17
18
19
20
21
22
23
24
25
26
27
28
29
30
31
32
33
34
35
36
37
38
39
40
41
42
43
44
45
46
47
48
49
50
51
52
53
54
55
56
57
58
59
60
61
62
63
64
65
66
67
68
69
70
71
72
73
74
75
76
77
|
void showOrderingConfirmationSheet(FoodItem food) {
FlutterCarplay.showActionSheet(
template: CPActionSheetTemplate(
title: “Order ${food.name}?”,
message: “Your pizza will be ready soon after confirmation.”,
actions: [
CPAlertAction(
title: “Cancel”,
style: CPAlertActionStyles.cancel,
onPress: () {
// print(“Cancel pressed in action sheet”);
FlutterCarplay.popModal(animated: true);
},
),
CPAlertAction(
title: “Ok”,
style: CPAlertActionStyles.normal,
onPress: () {
print(“Ok pressed in action sheet”);
FlutterCarplay.popModal(animated: true);
FlutterCarplay.showAlert(
template: CPAlertTemplate(titleVariants: [
‘${food.name} ordered!’
], actions: [
CPAlertAction(
title: “Dismiss”,
style: CPAlertActionStyles.destructive,
onPress: () {
print(“Dismiss pressed in action sheet”);
FlutterCarplay.popModal(animated: true);
},
),
]));
},
),
],
),
);
}
|
The food item in question is then opened, and a proof message appears. Depending on your needs, you could also use the built-in Flutter app features at this point, like adding or removing items from a private database.
Conclusion
You can always get the whole source code on Github. Because there is a commit from before I added CarPlay and a commit from after I did, you can use this to see what changed. This comparison might help you if you’re having trouble setting up CarPlay.
This is how you use Flutter to add and move apps in CarPlay. Getting Apple to let you use CarPlay in your app takes the most time when you’re setting up CarPlay. If you want to start adding CarPlay to your Flutter app, you should start working on it right away.
Adding CarPlay to your Flutter app might take some time, but if it works well with CarPlay, choosing a top Flutter app development company like ours can make the experience much better for the users.
An organization that focuses on flutter development projects is Appic Softwares. Our team of full-time and part-time Flutter developers can work closely on your projects.