Shopify is an e-commerce platform that provides businesses and individual users with a range of tools to create and manage online stores in an easy-to-use technological environment.
Shopify, the first publicly traded e-commerce provider, gives online retailers the chance to engage with exceptional customers. To stay up with customers’ growing expectations, Shopify shop teams and owners continue to place a strong demand on it for the ability to gather, comprehend, and analyze e-commerce data at a more precise level. Shopify offers helpful tools for examining transaction history, consumer behavior, and recent store activity. However, it still lacks sophisticated business-level shop analytics.
In contrast, Power BI is a user-friendly cloud-based platform that makes it simple to create and share dashboards, reports, and data analytics.
Benefits from Power BI-generated Shopify data analysis include
- Create informative, customized Sho
pify reports and graphs based on a reliable dataset. These can be applied to boost Shopify sales and enhance the performance of e-commerce companies. - Get numerous Shopify Power BI dashboards to thoroughly examine all the data in real-time and drill down to identify causes and consequences, improving Shopify service quality and shop efficiency;
- Build a sophisticated business analytics landscape and monitor the effects of your e-commerce marketing plan using the benchmarks that follow to increase Shopify sales for your store.
To link Shopify with Power BI, simply install and configure the Power BI Connector for Shopify with a few clicks:
Step 1: Setup Shopify’s Power BI Connector
Locate the Power BI Connector in the Shopify App Store, click the Add app button, then go to the guidelines provided for installation.

On the Confirmation page, go over all the information and select Install app.

Once the program has been installed, you may begin constructing your data sources.
Step 2: Create a Data Source
Choose New Data Source when the Power BI Connector app is open.

Enter the name and description in the Details area. If you would like your Shopify data export to be available at a specific time, configure the Schedule section with your desired option and select a start time:

Navigate through the tabs in the main Export choices area to see all of the fields and tables that can be exported with data. Select the required page and place a checkmark next to the field you want to export data from. Utilize the left-hand tabs for easy navigation.

Select filters from a drop-down menu by clicking Add Filter to refine your database selection. For your knowledge, this data is subject to change at any time.


To save the changes, click the Save button.

Step 3: Prepare Data
To manage the created data sources and their status, return to the data source page after the data source has been created. To prepare for data exporting, select the Actions menu and click the Start button.

The Status column will include the conditions for data preparation.

Following the completion of the data preparations, the status will change to “Ready.” For your information, the estimated time needed for data processing varies depending on the volume of data selected. The data source URL produced by Power BI Connector can
then be copied by selecting the Copy option from the Actions menu.

Step 4: Open Microsoft Power BI and import data from Shopify
To access the OData feed, open Microsoft Power BI Desktop and select File -> Get Data.

Use the copied data source URL in the window that appears.

On the OK button, press. Following that, you must complete the basic authorization process in Microsoft Power BI.


Copy the personally identifiable information found on the Power BI Connector interface’s Settings page.

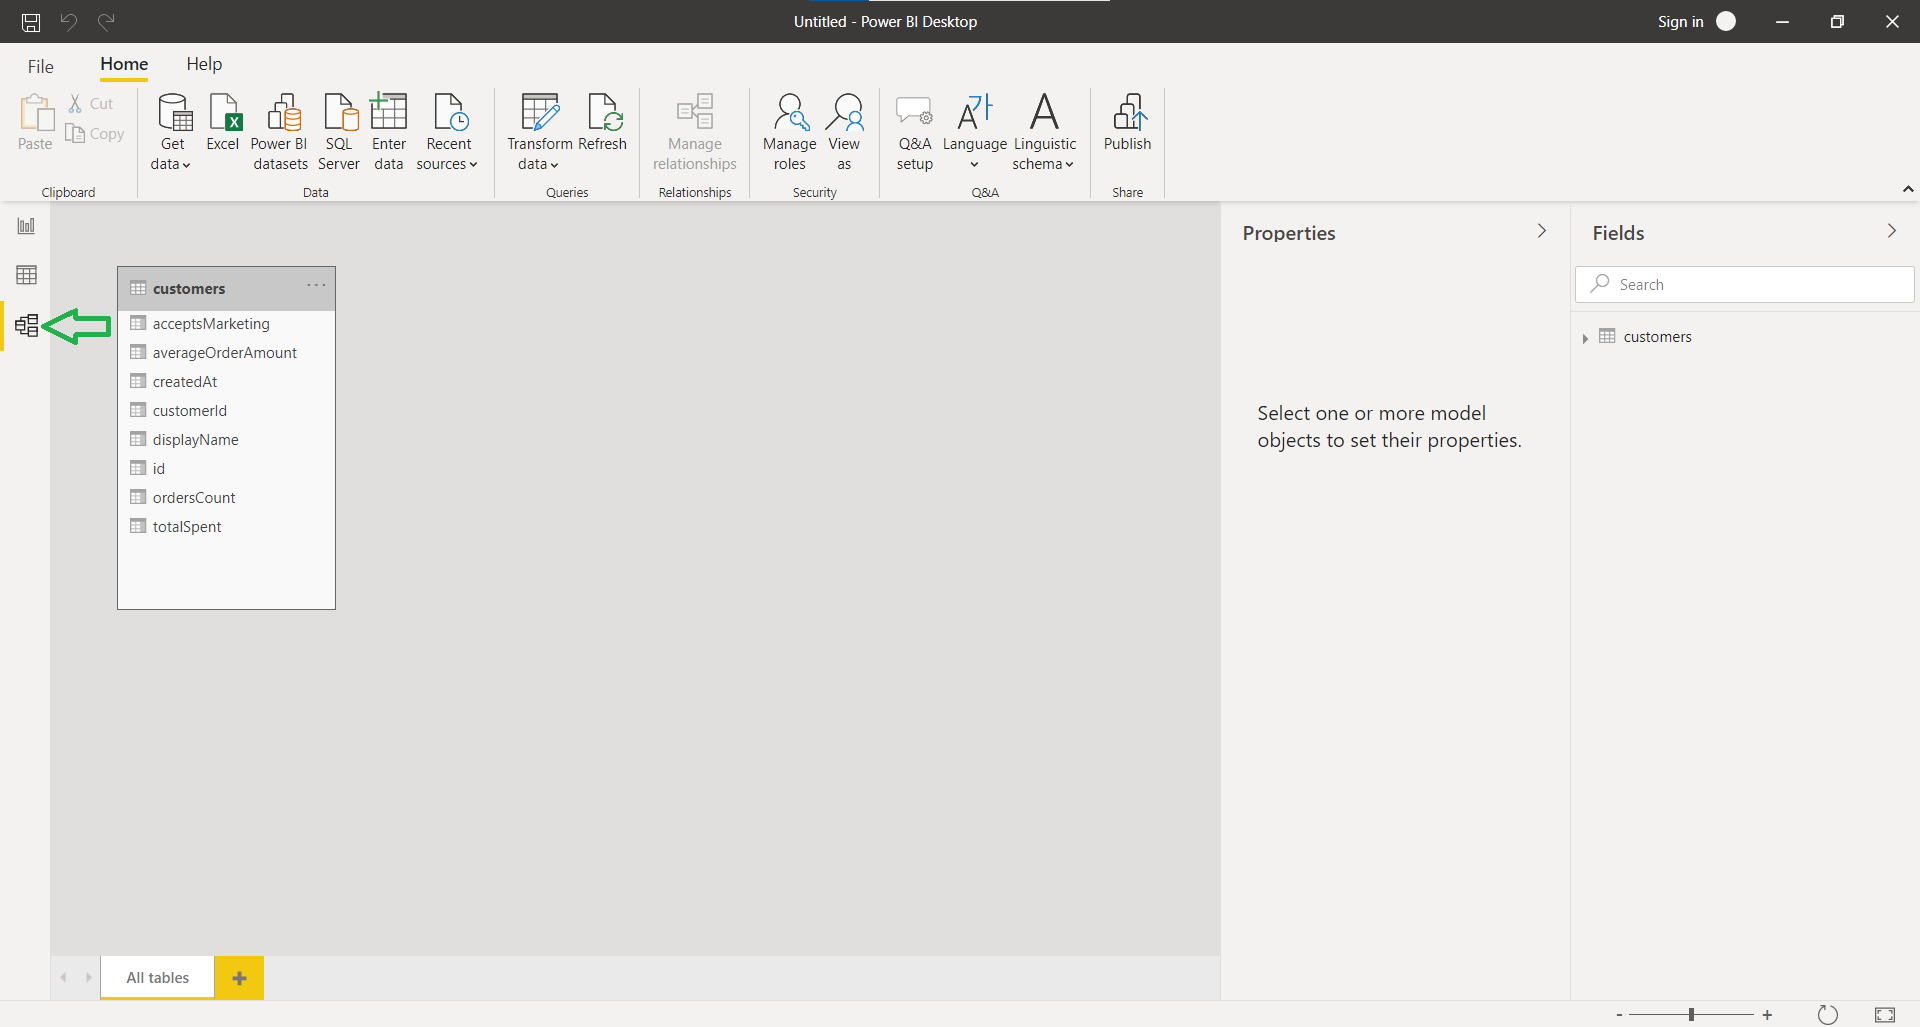
With the Power BI Connector, you can now view every exported table from the Shopify store. Once the ones that require importation have been chosen, click Load.

Depending on the volume of data, the loading procedure may take several minutes. That is all.
Begin developing comprehensive reports and several dashboards with Microsoft Power BI and Shopify data.

Conclusion
Now, in the end, we hope that through this post you were able to gain knowledge on how to Integrate Shopify with Power BI. However, if you are still confused and want a Power BI development company that can assist you with the same, then you should check out Appic Softwares.
We have an experienced team of developers that can help you with the same. So, contact us now and get a solution to your problem now.
FAQs
Q.What is Power BI?
A.Power BI is a business analytics tool by Microsoft that helps you visualize data and share insights across your organization. It enables users to connect to multiple data sources, including Shopify, to create real-time dashboards and reports.
Q.Why should I integrate Power BI with Shopify?
Integrating Power BI with Shopify allows you to:
-
Track real-time sales data
-
Monitor product performance
-
Visualize customer behavior and order trends
-
Make data-driven decisions to improve your eCommerce strategy
Q.What are the steps to integrate Power BI with Shopify?
A.Here are the four simple steps:
-
Export Shopify Data using apps like Supermetrics, Stitch, or CSV export
-
Use a Data Connector or third-party integration tools like Panoply or Power BI connectors
-
Import Data Into Power BI and format it using Power Query
-
Create Dashboards & Reports to visualize sales, orders, customers, and product data